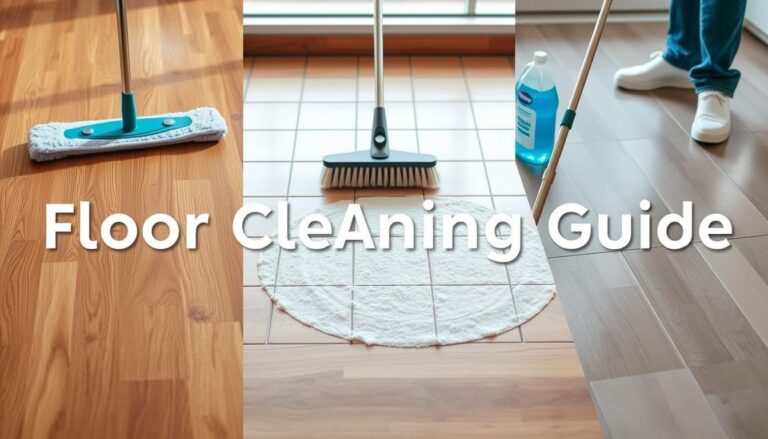
Beginner’s Guide to Installing Hardwood Floors: Tips From the Pros
When you’re ready to elevate your space with hardwood floors, start by choosing resilient woods like oak or maple for high-traffic areas, and decide between pre-finished or unfinished options based on your maintenance preferences. Make certain you have the right tools on hand—a quality saw, a measuring tape, and a flooring nailer can make your installation smoother. Importantly, verify your subfloor is level and dry before you begin laying planks. Opt for laying boards parallel to the longest wall to visually expand your space, and remember to let the wood acclimate to avoid future warping. Following these foundational steps will secure a professional-looking finish, and there’s plenty more to learn to perfect your technique.
Choosing the Right Wood
When installing hardwood floors, choosing the right wood often determines both the aesthetics and longevity of your flooring. You’ll want to take into account several factors to guarantee that you’re not only pleased with how it looks but also that it’s safe and durable for your home environment.
Firstly, think about the hardness of the wood. Hardwoods like oak, maple, and cherry are popular for their durability and resistance to wear. These options are especially wise if you’ve got a busy household with lots of foot traffic. Softer woods like pine can dent more easily and might not be the best choice if durability is a top concern.
Next, evaluate the finish of the wood. Pre-finished wood offers added protection against moisture and wear, which is vital in maintaining safety and prolonging the life of your floors. Unfinished wood, while offering a customizable look, requires immediate treatment after installation to seal and protect it.
Lastly, pay attention to the wood’s grade and cut. Clear grades are free of defects and provide a uniform look, while lower grades can offer a more rustic charm but might have imperfections that could affect longevity. Always choose wisely to balance beauty and functionality safely.
Tools and Materials Needed
Gather your tools and materials before you begin the installation of your hardwood floors to guarantee a smooth and efficient process. First, you’ll need a tape measure and a pencil for precise measurement and marking. A good-quality saw, either a circular saw or a miter saw, is essential for cutting the wood planks to the right size. Don’t forget a hammer or a pneumatic nailer, along with the appropriate nails or staples for securing the planks.
A flooring nailer can be a great asset, making the job faster and reducing the risk of damaging the wood. You’ll also require a set of spacers to maintain the necessary expansion gap around the edges of the room. This prevents buckling as the wood naturally expands and contracts.
Safety should always be your top priority. Make certain you have safety goggles to protect your eyes from flying particles and dust. Durable work gloves will shield your hands during handling and installation. Finally, consider knee pads for comfort, as you’ll spend a lot of time on your knees.
With these tools and materials, you’re set to start your project with confidence, knowing you’ve prepared for efficiency and safety.
Preparing Your Subfloor
Having assembled all the necessary tools and materials, your next step is to prepare the subfloor for the hardwood installation. This stage is vital for the longevity and performance of your new floors, so don’t rush it.
First, verify your subfloor is clean, dry, and level. Sweep or vacuum any debris and check for moisture using a moisture meter. Excessive moisture can wreak havoc on hardwood, causing warping or mold growth, so address any dampness issues before proceeding.
Next, inspect the subfloor for damage or unevenness. You’ll need to repair any holes or cracks with filler and sand down high spots. If you’re dealing with a plywood subfloor, confirm all screws and nails are flush with the surface to avoid future squeaks or damage to your hardwood.
For concrete subfloors, consider applying a moisture barrier or sealant to prevent any rising damp. It’s also essential to install a vapor barrier, regardless of your subfloor type, to protect against moisture from below.
Layout Planning and Measurement
Before laying your hardwood floors, it’s important to plan the layout and accurately measure the space. This guarantees a seamless installation and reduces waste, saving you time and money. Begin by sketching a rough diagram of your room, noting the dimensions and any obstacles like cabinets or fireplaces. This visual aid helps you strategize the placement of the boards and anticipate potential challenges.
Use a tape measure to get the exact length and width of the room. Multiply these numbers to calculate the square footage. Always add 10% to this figure to account for cutting errors and future repairs. For rooms with irregular shapes, break them into smaller rectangles, calculate each area, and then sum them up.
Decide the direction of the boards. Running them parallel to the longest wall often makes the room appear larger and minimizes fewer cuts. However, consider the source of light and possible moisture areas; boards perpendicular to the light source can help hide imperfections.
Lastly, don’t forget to check the room’s squareness. Measure diagonally across. If the measurements differ substantially, you’ll need to adjust your layout to avoid a skewed installation. This step is vital for maintaining the aesthetic and structural integrity of your flooring.
Installation Techniques
Once you’ve planned your layout and measured the space, it’s time to plunge into the actual installation of your hardwood floors. You’ll want to guarantee safety and precision throughout this process, so here’s a straightforward approach to help you.
Start by acclimating your hardwood to the room’s humidity for at least 48 hours to prevent warping. Next, lay down your vapor barrier sheet to block moisture. Begin installing from the corner of the room and work across, guaranteeing each plank fits snugly against the next.
Here’s a quick reference guide:
| Step | Tool | Safety Tip |
|---|---|---|
| Acclimation | None | Store boxes flat, away from moisture |
| Subfloor Preparation | Hammer, Level | Wear safety goggles |
| Vapor Barrier Installation | Utility Knife | Cut away from body |
| Laying Planks | Rubber Mallet | Use knee pads |
| Securing Planks | Flooring Nailer | Check nailer for misfires |
Always use a rubber mallet to gently tap the planks into place, minimizing damage. When securing planks with a flooring nailer, guarantee it’s properly maintained to avoid accidental misfires.
Sanding and Finishing
After your hardwood floors are securely installed, it’s time to focus on sanding and finishing, which will protect the surface and enhance its appearance. Begin with sanding; it’s vital for removing imperfections and preparing the wood for finishing. You’ll need a power sander, and it’s advisable to start with coarse-grit sandpaper, progressing to finer grits. Always sand in the direction of the wood grain to avoid scratches that can mar the surface.
Ensure you wear safety goggles and a dust mask during this process. Sawdust can be hazardous, so keep your work area well-ventilated. After sanding, thoroughly clean the floor from all dust and debris—this step is essential before you apply any finish.
For finishing, you have several options like polyurethane, varnish, or oil-based finishes. Each type has its benefits, and your choice will depend on the desired look and the level of protection needed. Apply the finish evenly using a fine-bristle brush or a foam applicator. Allow the first coat to dry completely, then lightly sand it with a very fine sandpaper before applying the next coat. This process enhances the floor’s durability and aesthetic appeal, ensuring a smooth, professional-quality finish.
Maintenance and Care Tips
Proper maintenance will guarantee your hardwood floors stay beautiful and durable for years to come. Here’s how you can keep them in top shape. First, it’s essential to sweep or vacuum regularly to remove dirt and grit that can scratch the surface. Use a soft-bristled attachment to avoid any damage.
For deeper cleaning, use a damp mop with a cleaner specifically designed for hardwood floors. Don’t use water directly, as excessive moisture can cause warping. Instead, lightly spray your mop head with the cleaning solution.
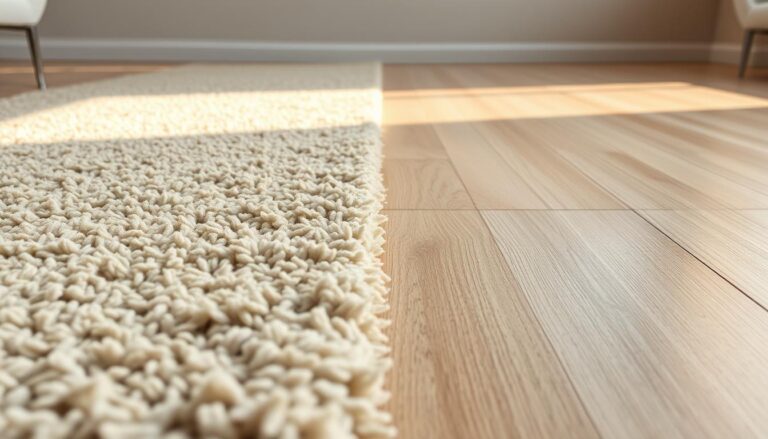
Avoid dragging furniture across your floors. Lift and carry items when rearranging your room to prevent scratches. Consider using felt pads under furniture legs to further protect your flooring.
Here’s a quick reference table to help you remember the key points:
| Task | Tip |
|---|---|
| Daily Cleaning | Sweep or vacuum with a soft attachment. |
| Weekly Cleaning | Use a damp mop with a specific wood cleaner. |
| Spill Response | Clean spills immediately with a dry cloth. |
| Furniture Movement | Lift instead of dragging; use felt pads. |
| Long-term Protection | Apply a fresh top coat every 3-5 years. |
Follow these guidelines, and you’ll enjoy lovely, long-lasting hardwood floors. Remember, regular care not only maintains their appearance but also guarantees their durability and safety.
Troubleshooting Common Issues
Even with meticulous care, you might encounter some common issues with your hardwood floors. Don’t worry; you can handle most of these with some basic troubleshooting steps.
First, if you notice squeaking, it’s often due to changes in humidity. Make sure your home’s humidity levels stay consistent, ideally between 35% and 55%. If the squeaking persists, you might need to secure loose boards with finishing nails.
Gapping is another common concern, especially during drier months. Again, maintaining proper humidity helps, but if gaps are extensive, consider using a wood filler that matches your floor’s color. Just know that wood expands and contracts, so some gapping throughout the year is normal.
For scratches, minor ones can often be buffed out using a wood stain marker or wax. Deeper scratches may require sanding the affected area and reapplying a finish coat. Always make certain the area is clean and dry before you start repairs.
Lastly, if you spot any water stains, act quickly. Dry the area thoroughly and lightly sand the stain. You can then apply a matching stain and sealant.